Here is a picture of the layout and wiring so far. I hope it works.


Work has slowed down at present as I have more important issues to deal with, but I hope to carry on at some time later this year.
Here is a picture of the layout and wiring so far. I hope it works.
Work has slowed down at present as I have more important issues to deal with, but I hope to carry on at some time later this year.

I have also decided where to put the Engine Shed.


To go with these you need an electric chassis and I used a KATO 11-109 Chassis purchased from Tramfabriek, the owner of who I saw at Rattery Exhibition.
The kit (shown in last blog) itself was purchased from Brooks 3D Models.
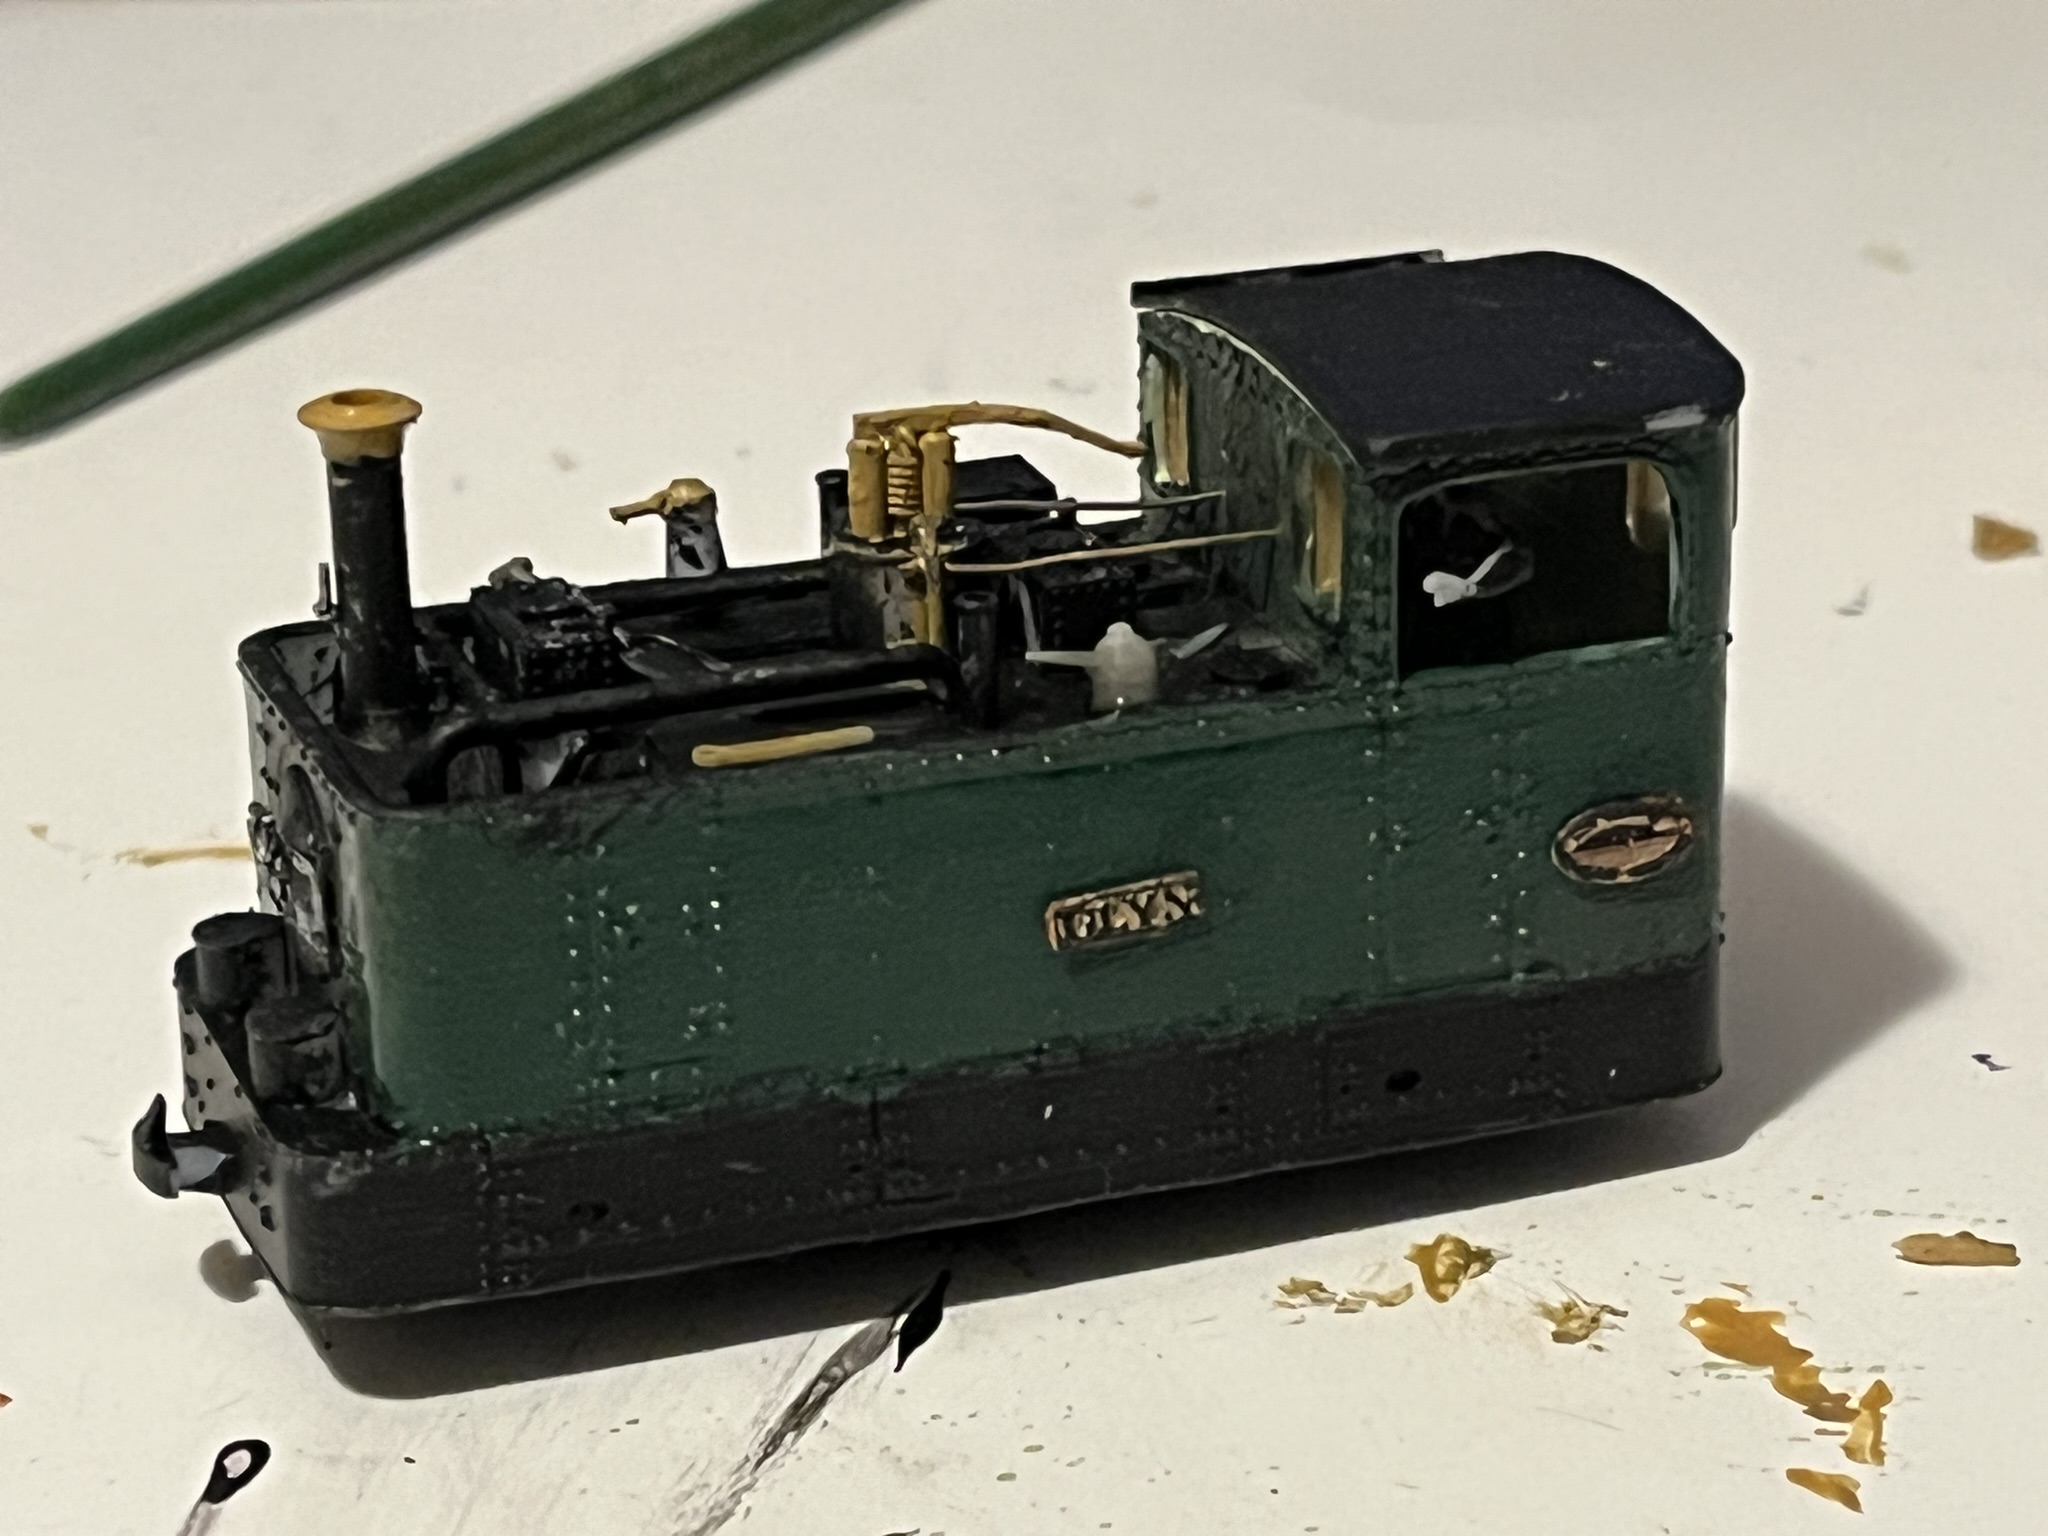
It was supposed to be easy to put together without instructions but I followed a Youtube video Constructing the Glyn Valley Loco which was very good.
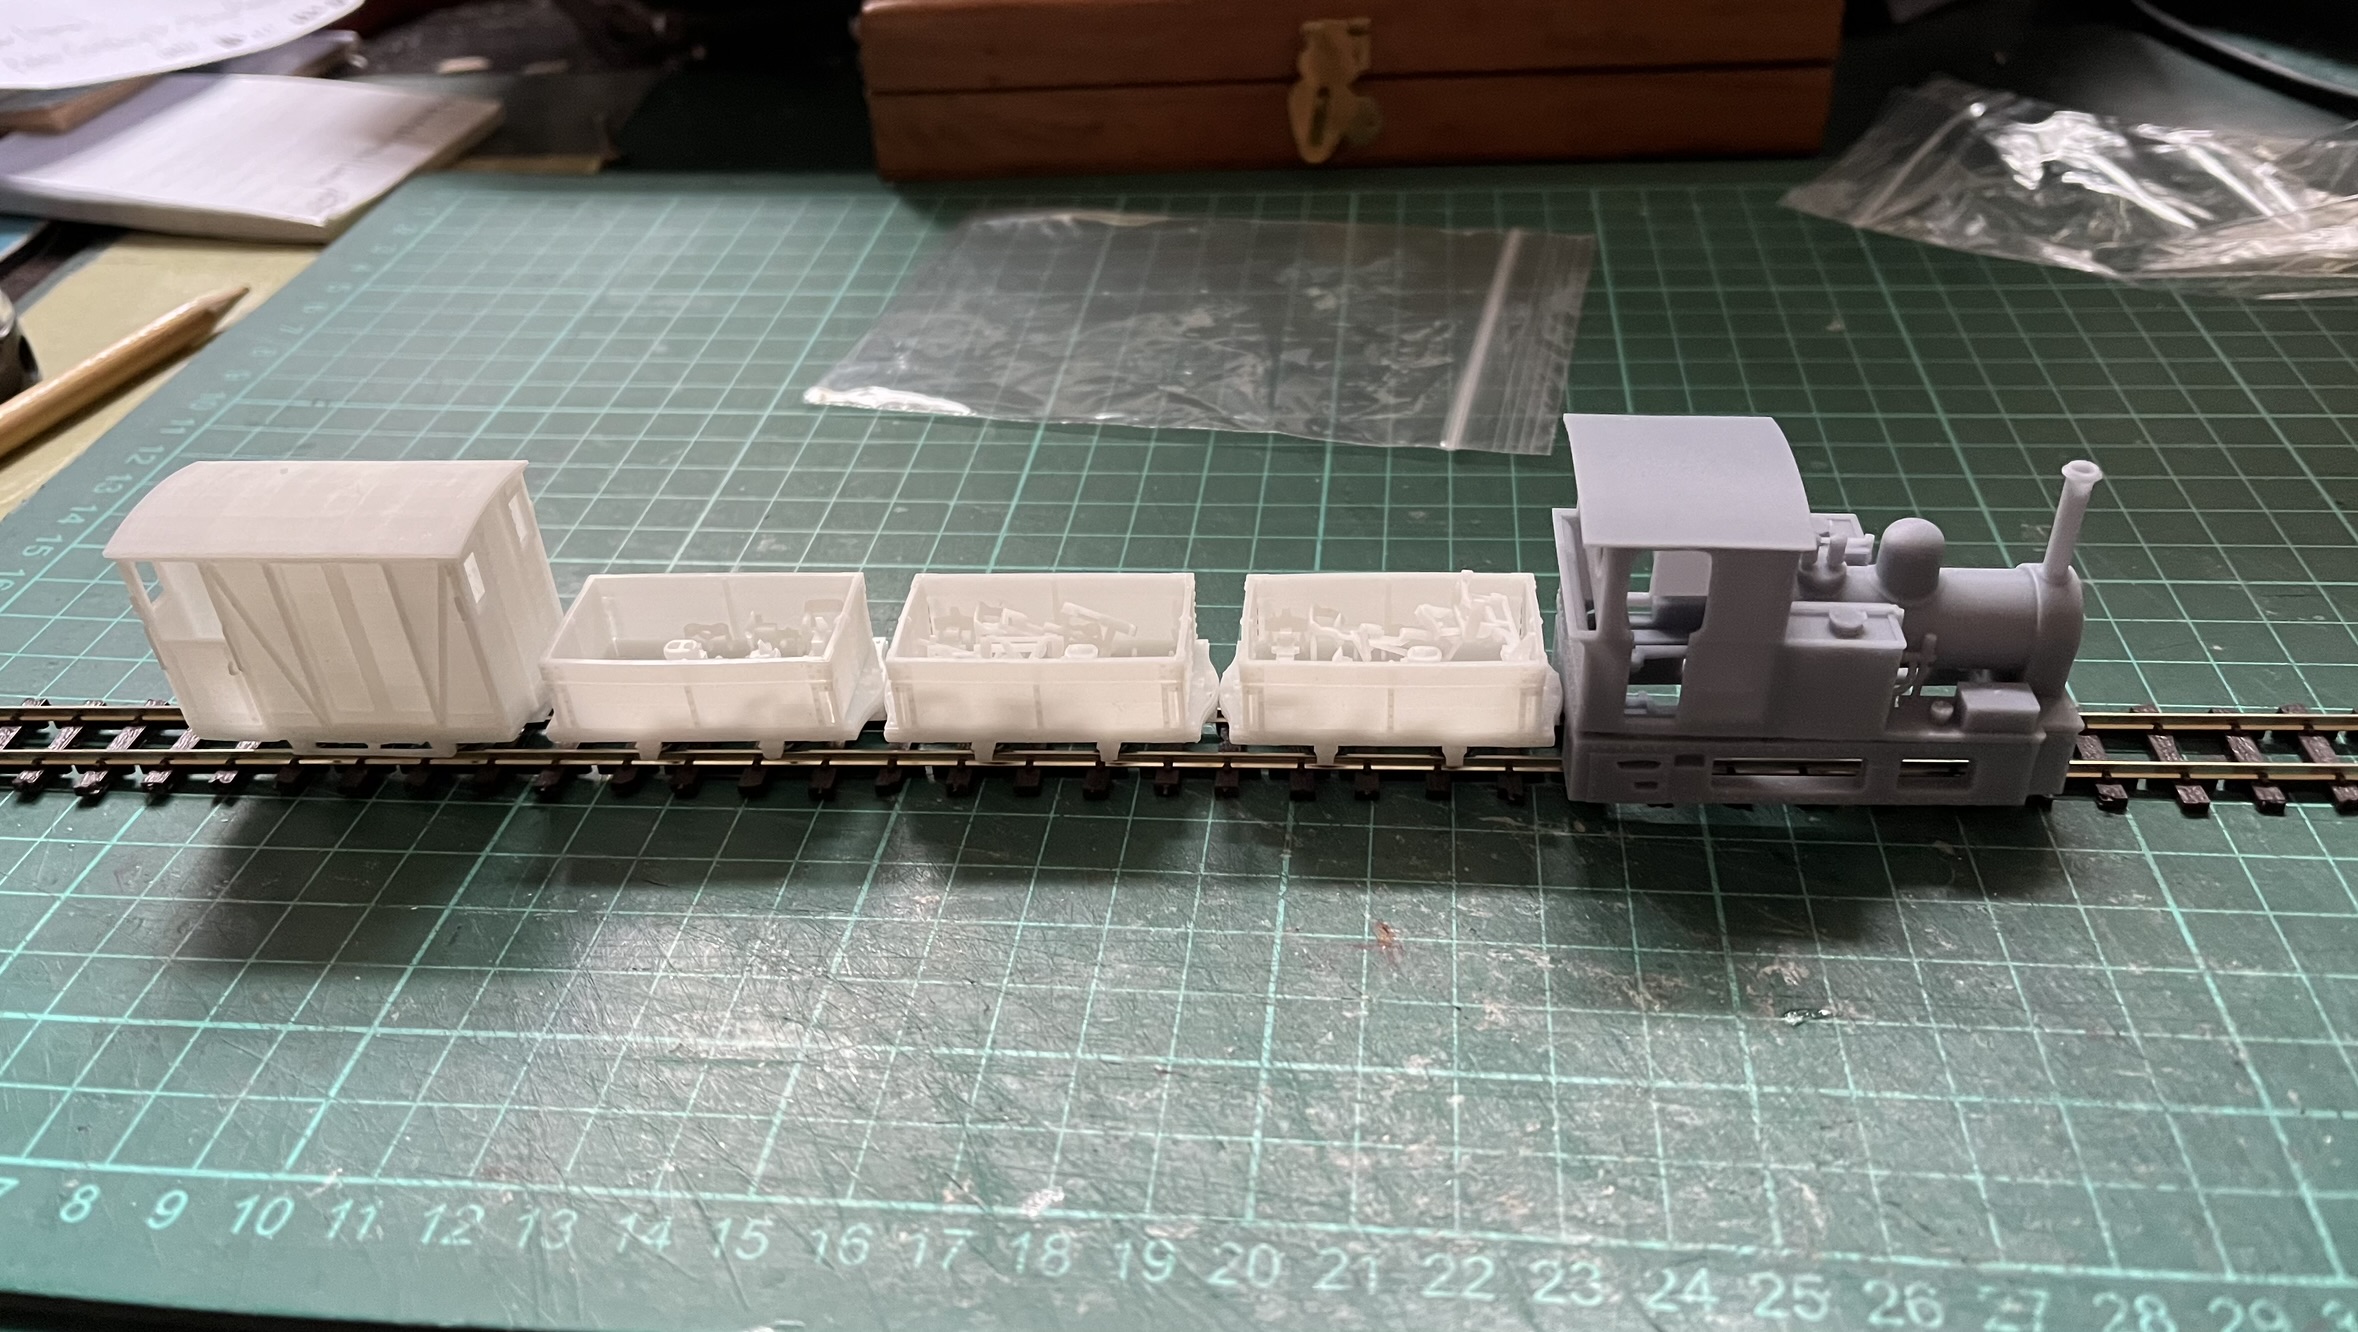
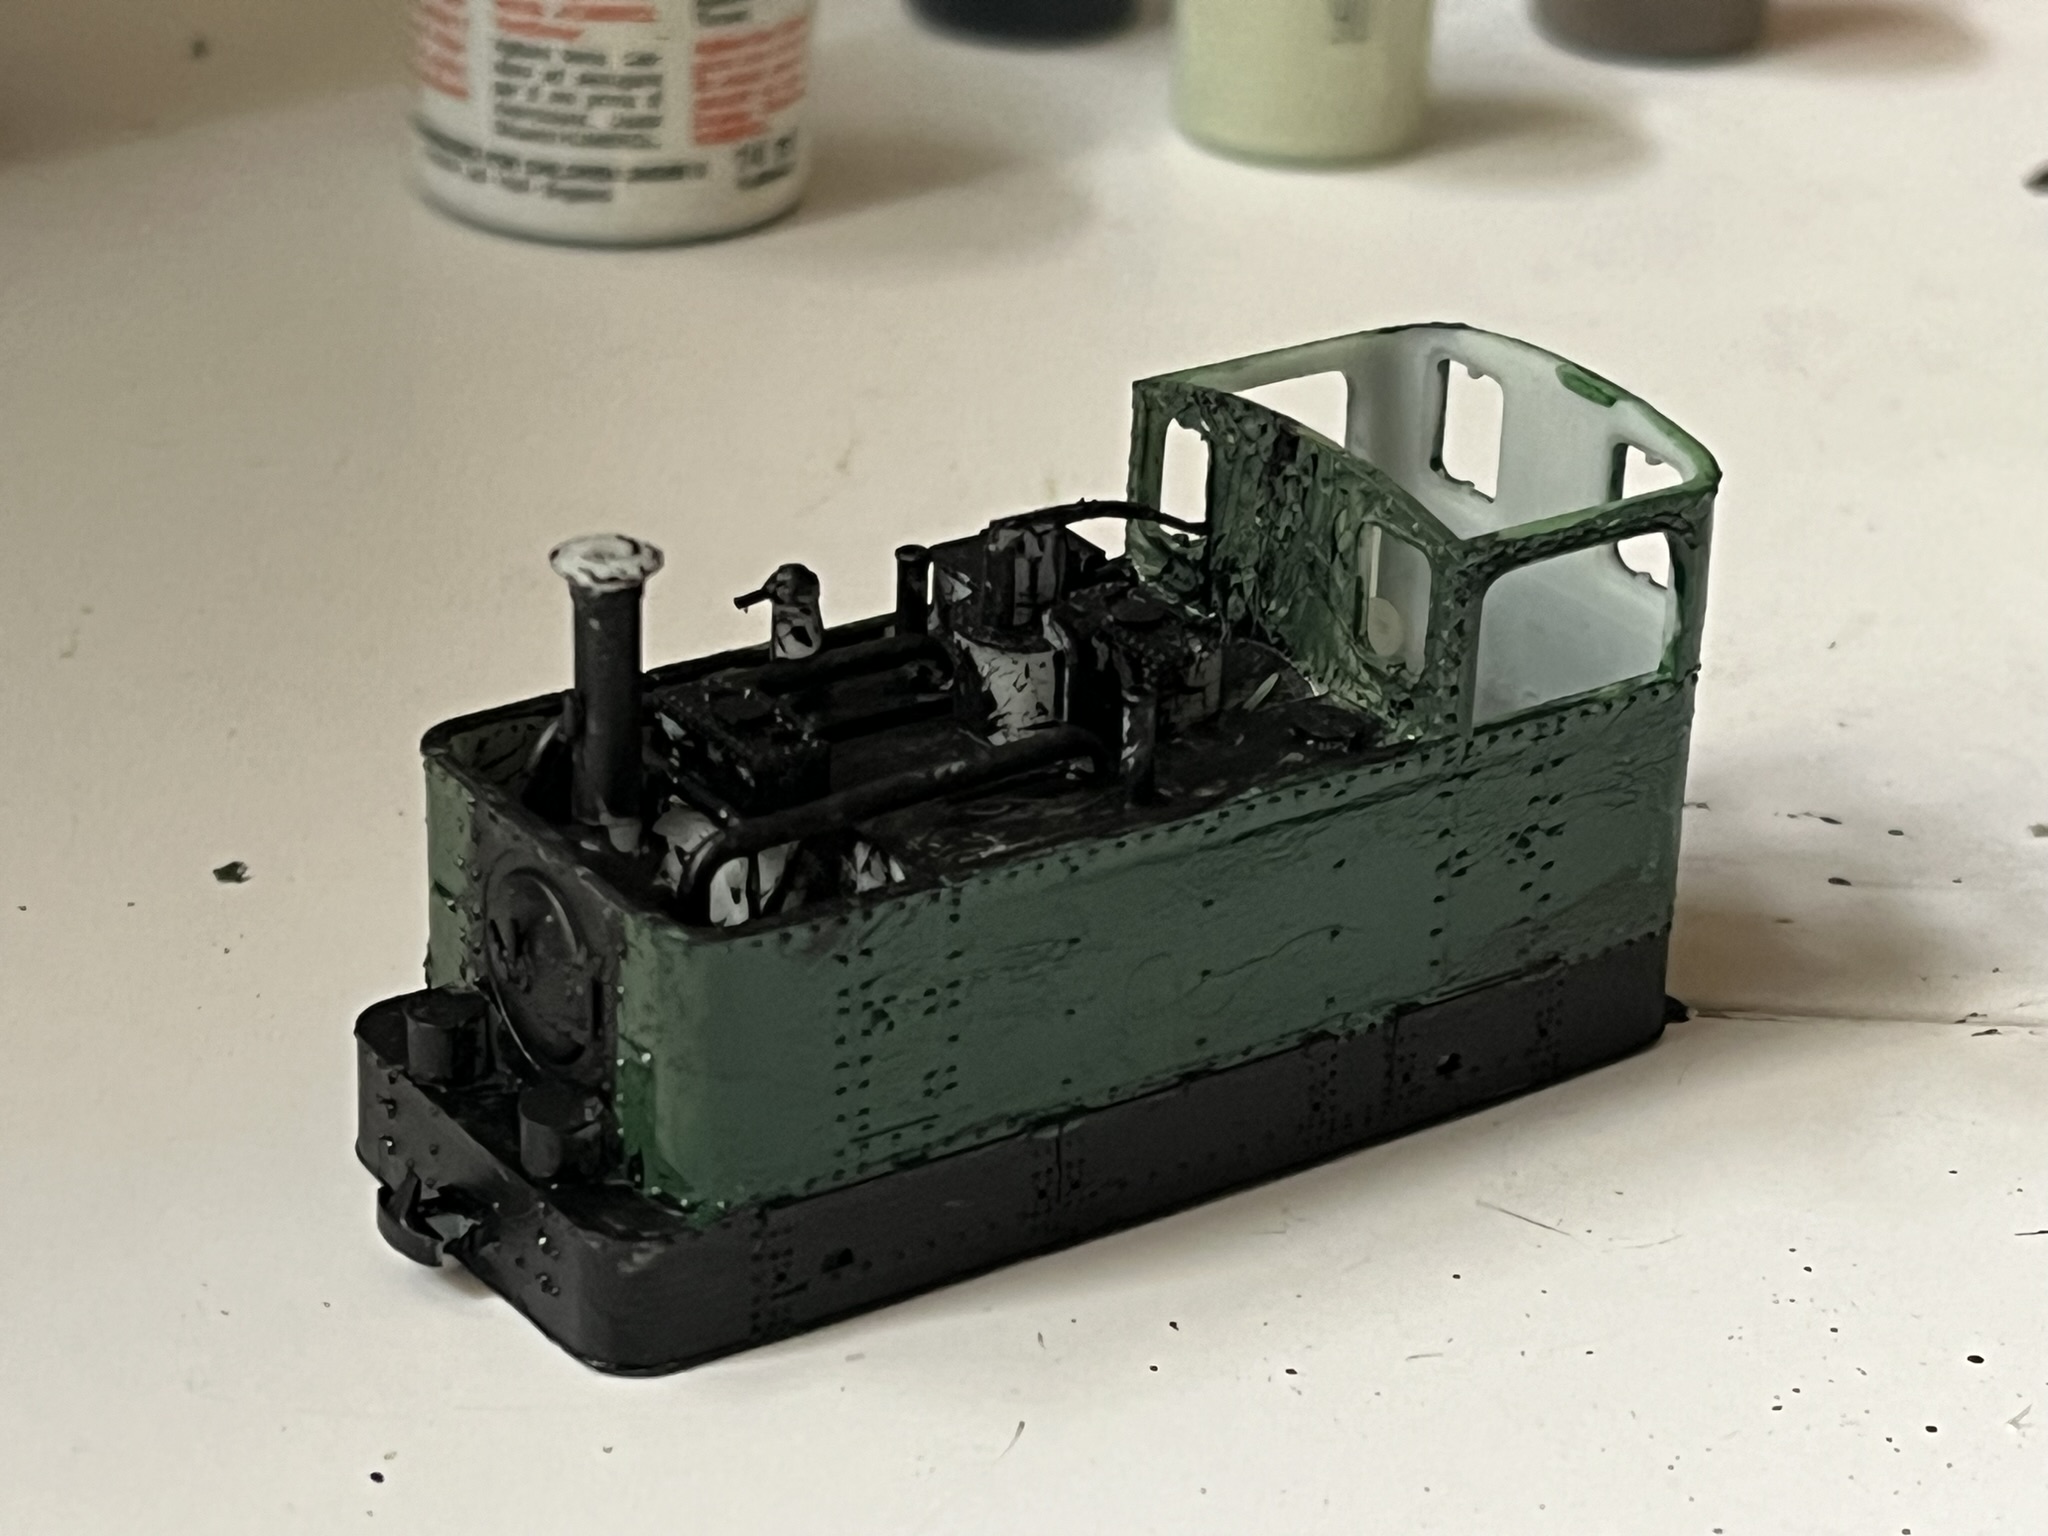
Pictures follow of various stages in the construction. The scale is very small and it wasn't that easy. Tweezers are essential as are good eyes, mine could be better!


And here it is on my layout with some slate trucks also bought fron Brooks 3D Models and put together by me.

I have decided that my narrow gauge will run from behind houses at the back of the layout, through the town and on to the front right corner, running over one of the storage sidings which will become a hidden siding.
For Christmas I rquested a 009 locomotive kit and a chassis to fit it on, and I now have to construct and paint the kit, add the backscene on the layout and modify it to take the narrow gauge track. That will keep me busy for a while.

 N
N